Color accuracy is crucial for visual content like graphic design, photos, videos, and games. Inaccurate color representations on screens undermine the artist’s creative skills and efforts. Nothing frustrates professionals and enthusiasts more than a monitor that fails to represent the true colors of their work.
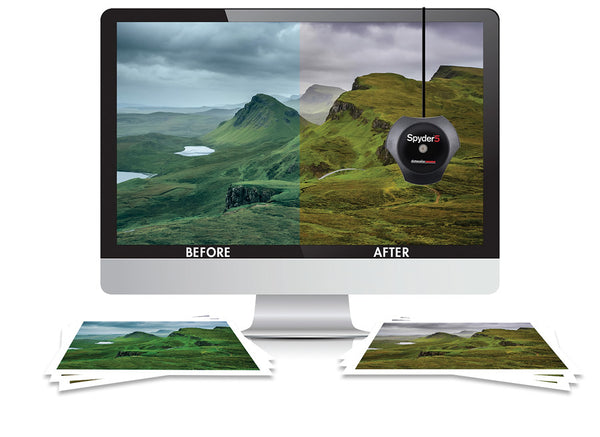
In contrast, a monitor that accurately depicts an image or video can make life easier. Less time is required to edit and correct colors while consistency is achieved across devices like daisy-chained monitors. Properly calibrated monitors offer better work efficiency and management, cost savings, and client satisfaction.
Fortunately, on-screen colors can be corrected through monitor calibration.
What Is Monitor Calibration?
Monitor calibration is fine-tuning the monitor’s settings to ensure precise color representation. Knowing how to do it properly is important because a properly calibrated display saves time, money, and energy.
Tools You Need Before You Start
There are various calibration tools you’ll need for monitor calibration. You can choose the most suitable tools in the market based on your budget, the accuracy required by your work, your computer’s operating system, and the extra features you need.
Popular options include software-only solutions and more advanced external hardware devices known as colorimeters.
Software Tools
Computer manufacturers like Microsoft and Mac provide built-in software for monitor calibration. You may also purchase third-party solutions from physical retailers and digital stores. If you opt for the latter, you can simply download and install their products onto your computer.
These software systems are designed to optimize the graphics card settings. They come with instructions and references that teach you how to adjust the brightness, color contrast, etc. as you see fit

Hardware Tools
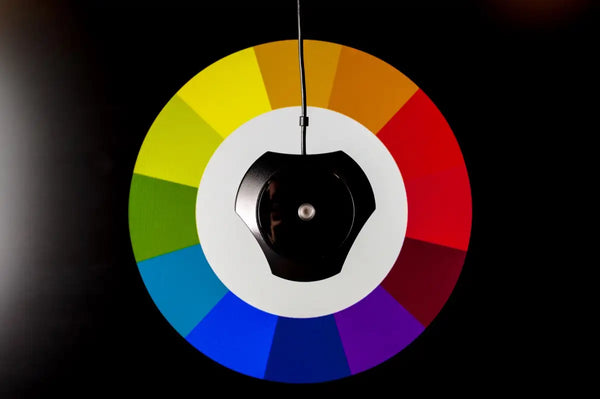
You may also use a more advanced calibration hardware tool like SpyderX, X-Rite i1Display Pro, and other reputable colorimeters. They are considered investments for professionals who want highly precise and consistent visual results.
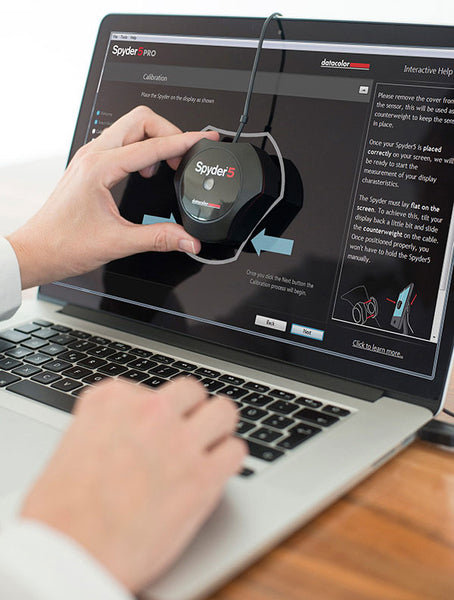
These devices are connected to your monitor via the USB port. They come with software that can be downloaded from the manufacturer’s website. As you use them, the hardware’s built-in sensors interact with the software and generate a calibration profile.
Hardware tools also measure the ambient light in your room and make adjustments accordingly.
Understanding Color Accuracy
What is color accuracy? It’s important to understand this concept to successfully calibrate your screen. You need to know three aspects: color gamut, brightness and contrast, and the resolution and refresh rate.
Color Gamut
Color gamut refers to the range of colors the monitor can display. The wider your monitor’s gamut, the more colors it can use. To classify color gamut and make monitor’s capabilities easier to understand, the computer industry has specific types of color standards.
- sRGB is the most common standard. It offers minimal lag time with few discrepancies. Most monitors, televisions, and cameras employ sRGB color systems.
- Developed by Adobe Systems, Adobe RGB, has more colors than sRGB. Its broad range enables precise reproductions of saturated and vibrant hues, making it ideal for print, photography, and graphic design.
- DCI-PC was introduced by the Society of Motion Pictures and Television Engineers. This gamut is useful for capturing digital videos and projecting them. Wider than sRGB, it is the standard used by cinema projectors and the iPhoneX’s internal camera.
These aren’t the only color gamut standards out there. However, the first two are the most frequently used.
Brightness and Contrast
Brightness refers to how much light your display uses. Higher brightness means lighter colors while lower brightness translates to darker colors.
Contrast refers to how different the light and dark colors look against each other.
You can adjust these using your computer’s display settings to be as close to your preferences as possible before calibration.

How To Calibrate Your Monitor: Step-by-Step Guide
Monitor calibration isn’t rocket science and the tools come with instructions but the process requires proper preparation and steps that must be followed.
1. Preparation
Set up the monitor in an environment with stable lighting. Keep it away from flashing lights or areas with too much brightness to avoid color distortion.
Turn on the monitor and allow it to warm up for about 30 minutes. This gives it time to adjust to your ambient lighting.
2. Basic Adjustments
Using your computer’s built-in settings, adjust the monitor’s brightness and contrast according to your preference.
Make sure to set the monitor resolution to its default configuration before fine-tuning.
Make sure your computer isn’t in the power-saving mode. This can dim your screen and give you inaccurate colors.
3. Using a Calibration Device or Colorimeter
Download, install, and activate the software with your calibration device. This can be found on the manufacturer’s website.
Attach the colorimeter device to the monitor through the USB port.
Follow the software’s instructions for optimum results.
4. Manual Calibration (Without a Colorimeter)

Windows and MacOS have monitor calibration tools and resources to help you achieve a more precise color display.
How To Calibrate a Mac Monitor?
- You can adjust your Mac monitor using the built-in Display Calibrator Assistant. Simply go to Apple Menu > System Settings.
- Scroll down and click Displays on the sidebar. Click the pop-up menu next to Color Profile.
- Choose Customize. You’ll see your monitor’s color profile and a list of other color profiles.
- Click the + button to open Display Calibrator Assistant. This will show you how to adjust your settings and create your calibrated color profile.
How To Calibrate a Windows Monitor?
- Go to Control Panel > Color Management > Advanced.
- Click on the Calibrate Display button. It will show you multiple options for adjusting your color settings, with a reference image as a guide.
You can also calibrate the settings for your video display. - Go to Settings > System > Display > HDR > Display calibration for HDR video.
- Calibrate your display using the available options.
Post Calibration Testing
There are test images online that help you assess your newly calibrated monitor. To use one, simply open a test image after calibrating your monitor. Check for color gradients, transitions, true representations of skin tones, shadows, etc.
Another option is to use specialized software. These are designed for color accuracy tests and use built-in calibration verification features. Download the software and follow the instructions. They display test patterns and color patches for your visual assessment while measuring and analyzing your monitor’s color display performance.
Maintaining Monitor Calibration
Like any other device, monitors are subject to aging and environmental factors like dust accumulation, heat and moisture, and prolonged usage. It’s, therefore, important to calibrate your monitor for color accuracy once a month, especially if you use it for color-sensitive work.
Conclusion
Having a well-calibrated monitor helps you optimize graphics-heavy work. While it’s possible to calibrate your monitor manually, a calibration tool saves time and is ideal for beginners.
It doesn’t get any better than Mobile Pixels for lifelike and customizable displays. Whether you’re looking for portable dual-screen or stackable single monitors, Mobile Pixels allows you to work and play the way you want.
发表评论
所有评论在发布前都会经过审核。
此站点受 reCAPTCHA 保护,并且 Google 隐私政策和服务条款适用。