


If you’re looking to maximize your workspace or get creative with your MacBook, you might wonder: Can I use my MacBook as a monitor? The short answer is yes, but the approach you take depends on your specific needs and setup. In this article, we’ll explore how to use your MacBook as an external monitor, the tools and software required, and the potential use cases for this setup.
Why Use Your MacBook as a Monitor?
Using your MacBook as a monitor can be a game-changer in various scenarios:
- Dual-Screen Productivity: Extend your desktop to increase screen real estate for multitasking.
- Collaborative Work: Share your screen for presentations or team discussions.
- Gaming or Media Streaming: Use your MacBook to display content from another device.
- Adaptable Workspace: Turn your MacBook into a portable monitor for on-the-go work.
Methods to Use Your MacBook as a Monitor

There are two primary methods to use your MacBook as a monitor: natively through macOS features or with the help of third-party applications and hardware. Let’s explore both options in detail.
1. Using Sidecar on macOS
Sidecar is Apple’s built-in feature that allows you to use an iPad as a secondary display, but it doesn’t natively support using a MacBook as a monitor. However, certain Apple ecosystems allow screen sharing between Macs using AirPlay.
Steps to Use AirPlay for Screen Sharing:
- Ensure both your MacBook and the other Mac or Apple device are on the same Wi-Fi network.
- Open System Preferences > Displays on the primary device.
- Select the AirPlay icon and choose your MacBook from the list of available devices.
- Your MacBook will mirror the primary device’s display or serve as an extended screen.
Limitations of AirPlay:
- Limited resolution and refresh rate compared to a direct monitor.
- Both devices must be within the same Apple ecosystem.
2. Using Third-Party Software
When Apple’s native tools don’t meet your needs, third-party software can bridge the gap. These tools allow you to use your MacBook as a monitor for any device, including non-Apple systems.
Popular Third-Party Applications:
| Tool | Description | Price Range | Compatibility |
|---|---|---|---|
| Luna Display | A hardware dongle that turns your MacBook into a monitor with minimal lag. | $119.99 | macOS, Windows |
| Duet Display | Software-only option for using your MacBook as a secondary screen. | $24.99 annually | macOS, Windows, iOS |
| Deskreen | Open-source solution to mirror or extend displays over Wi-Fi. | Free | All platforms |
| Astropad Studio | Great for creative professionals, especially for drawing and designing. | $79.99 annually | macOS, iPadOS |
Steps to Use Third-Party Tools:
- Download and install the chosen software on both devices (MacBook and primary device).
- Follow the on-screen instructions to connect the devices (via Wi-Fi or USB).
- Configure display preferences to extend or mirror your screen.
3. Connecting with Hardware Solutions
If software-based solutions aren’t sufficient for your use case—especially if you need low-latency high-resolution displays—hardware solutions like HDMI capture cards or display adapters can help.
Using an HDMI Capture Card:
- Connect the primary device to the capture card via HDMI.
- Plug the capture card into your MacBook via USB or USB-C.
- Use software like OBS Studio or QuickTime Player to view the input on your MacBook.
Pros:
- High-quality video output.
- Minimal lag.
Cons:
- Requires additional hardware.
- May need technical expertise to set up.
Use Cases for Using a MacBook as a Monitor

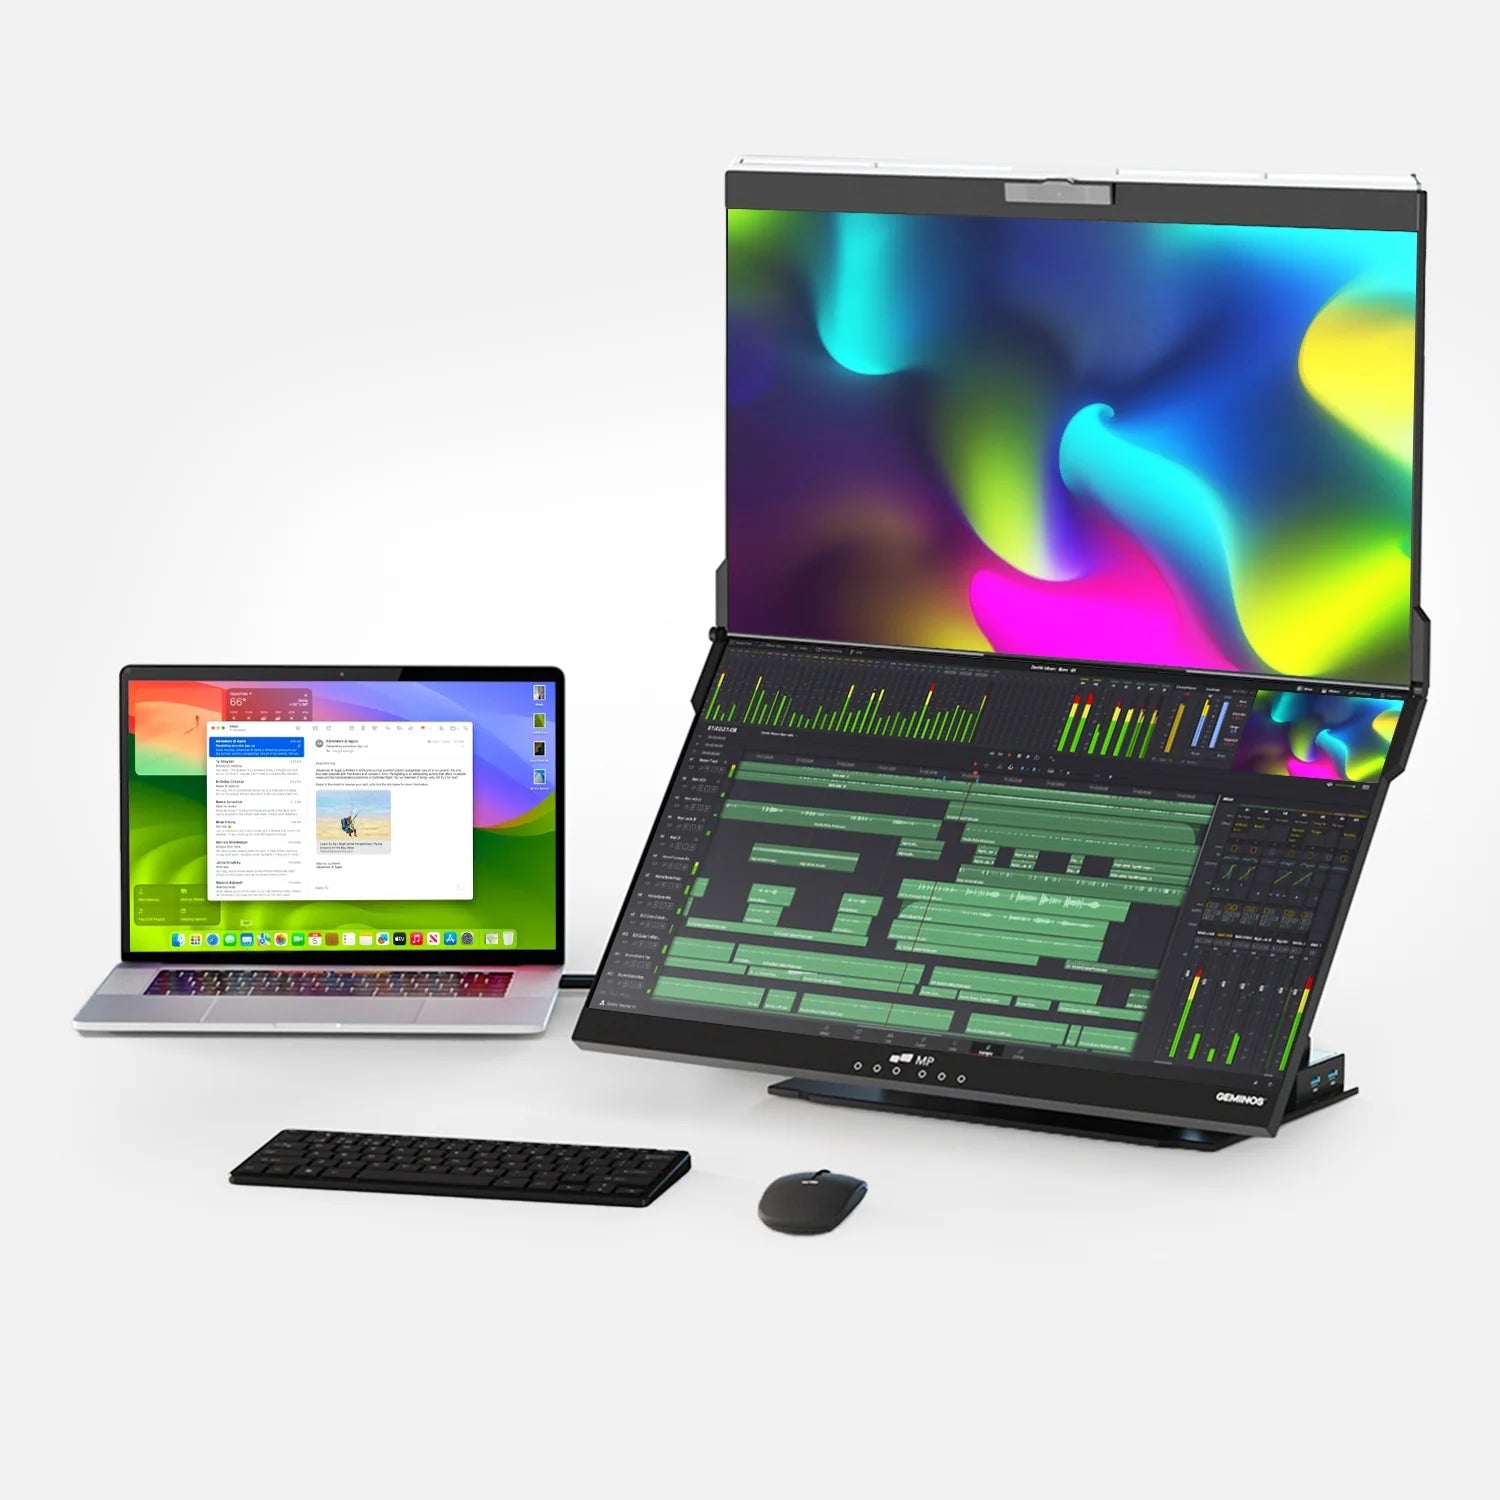
- Work-from-Home Setup: Use your MacBook as a secondary monitor to boost productivity while working remotely.
- Mobile Workstations: Pair your MacBook with other devices for portable dual-screen setups.
- Creative Workflows: Designers and video editors can use tools like Astropad to turn their MacBooks into drawing tablets.
- Gaming: Stream your console or gaming PC to your MacBook for a convenient portable setup.
Best Practices for Creating a Seamless Workflow
To ensure a smooth experience, follow these tips:
- Optimize Your Network: For wireless solutions, ensure a strong and stable Wi-Fi connection. Ethernet connections provide even better performance for AirPlay and third-party tools.
- Adjust Display Preferences: Configure resolution and scaling options in System Preferences > Displays to achieve the best visual quality.
- Invest in Quality Tools: While free or open-source tools are great, premium options like Luna Display offer significantly better performance with minimal lag.
- Ergonomics: Position your MacBook at eye level and use a stand if necessary to avoid neck strain.
Conclusion
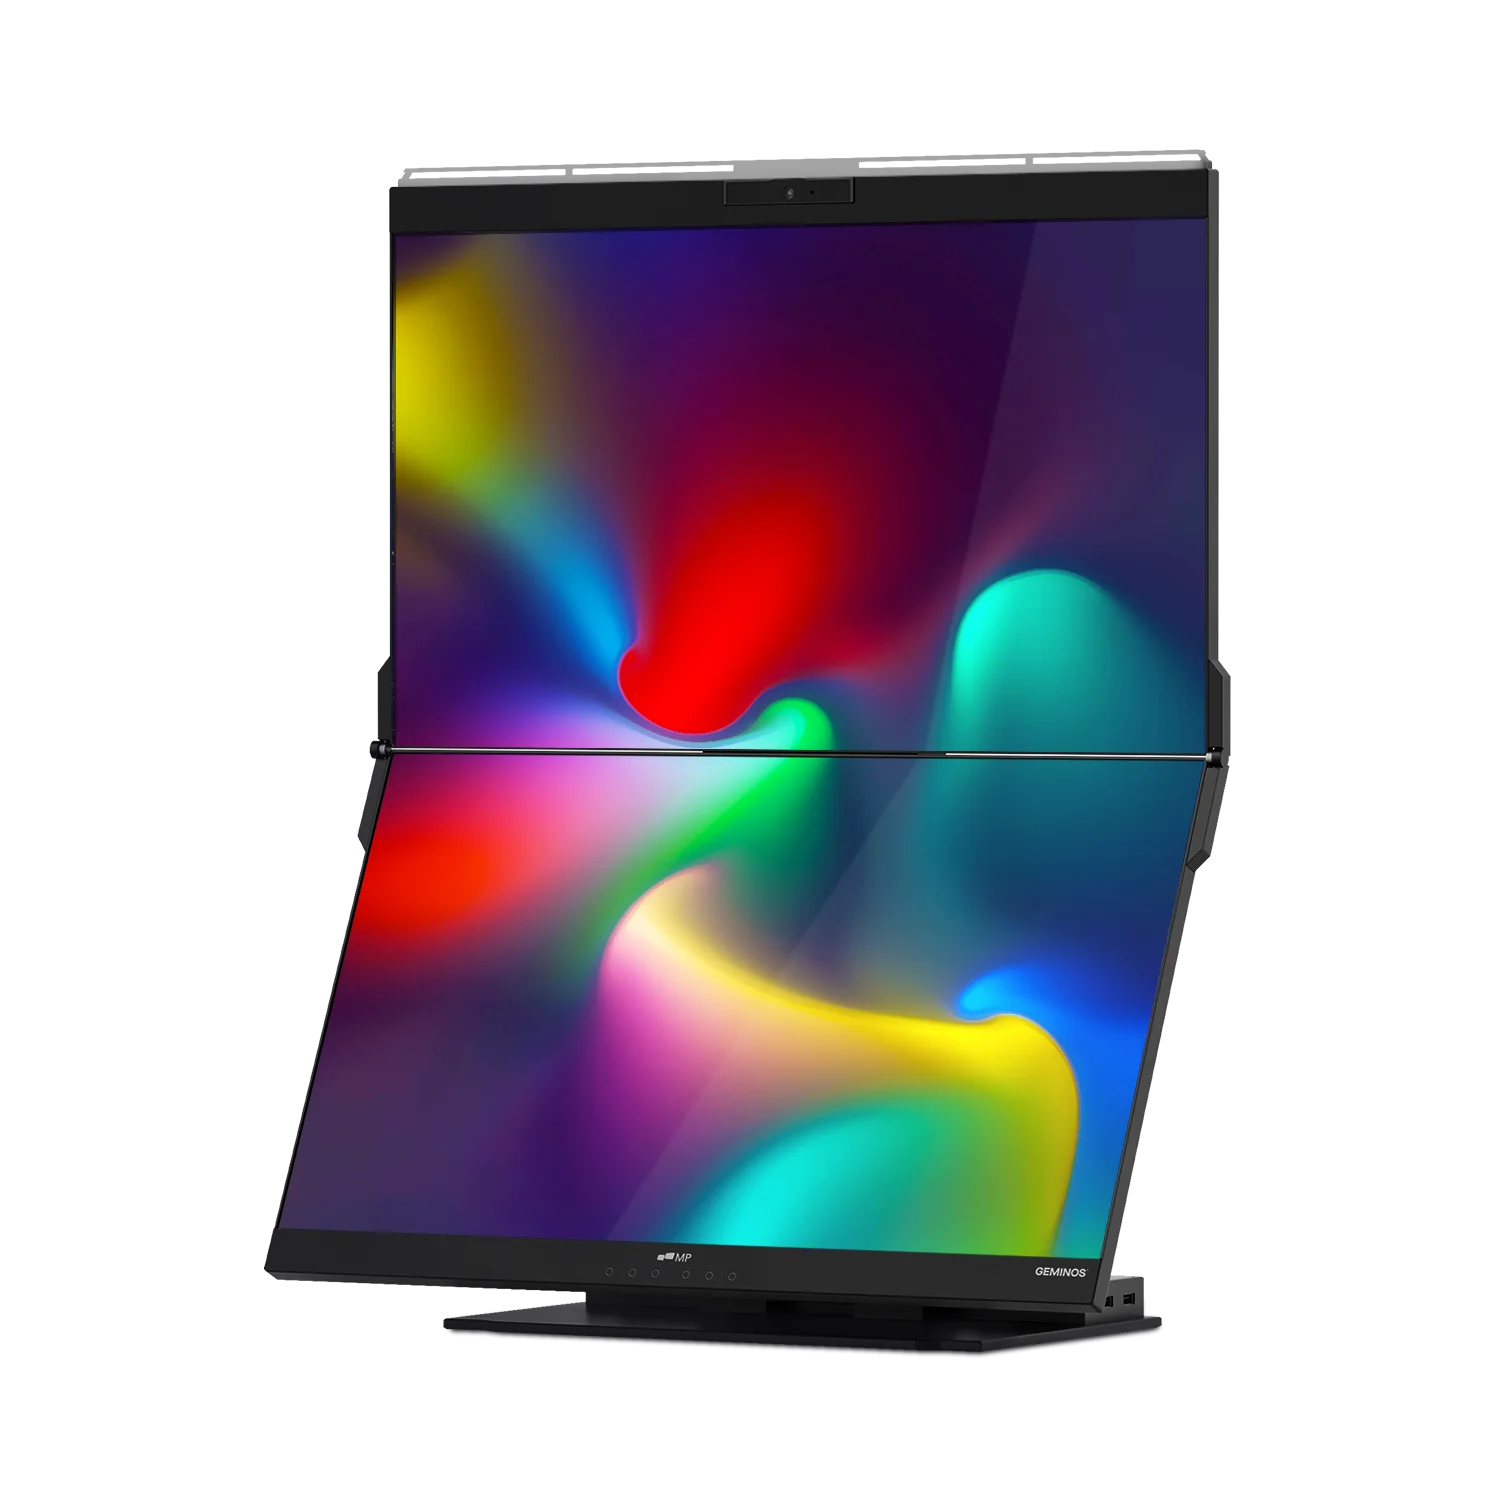
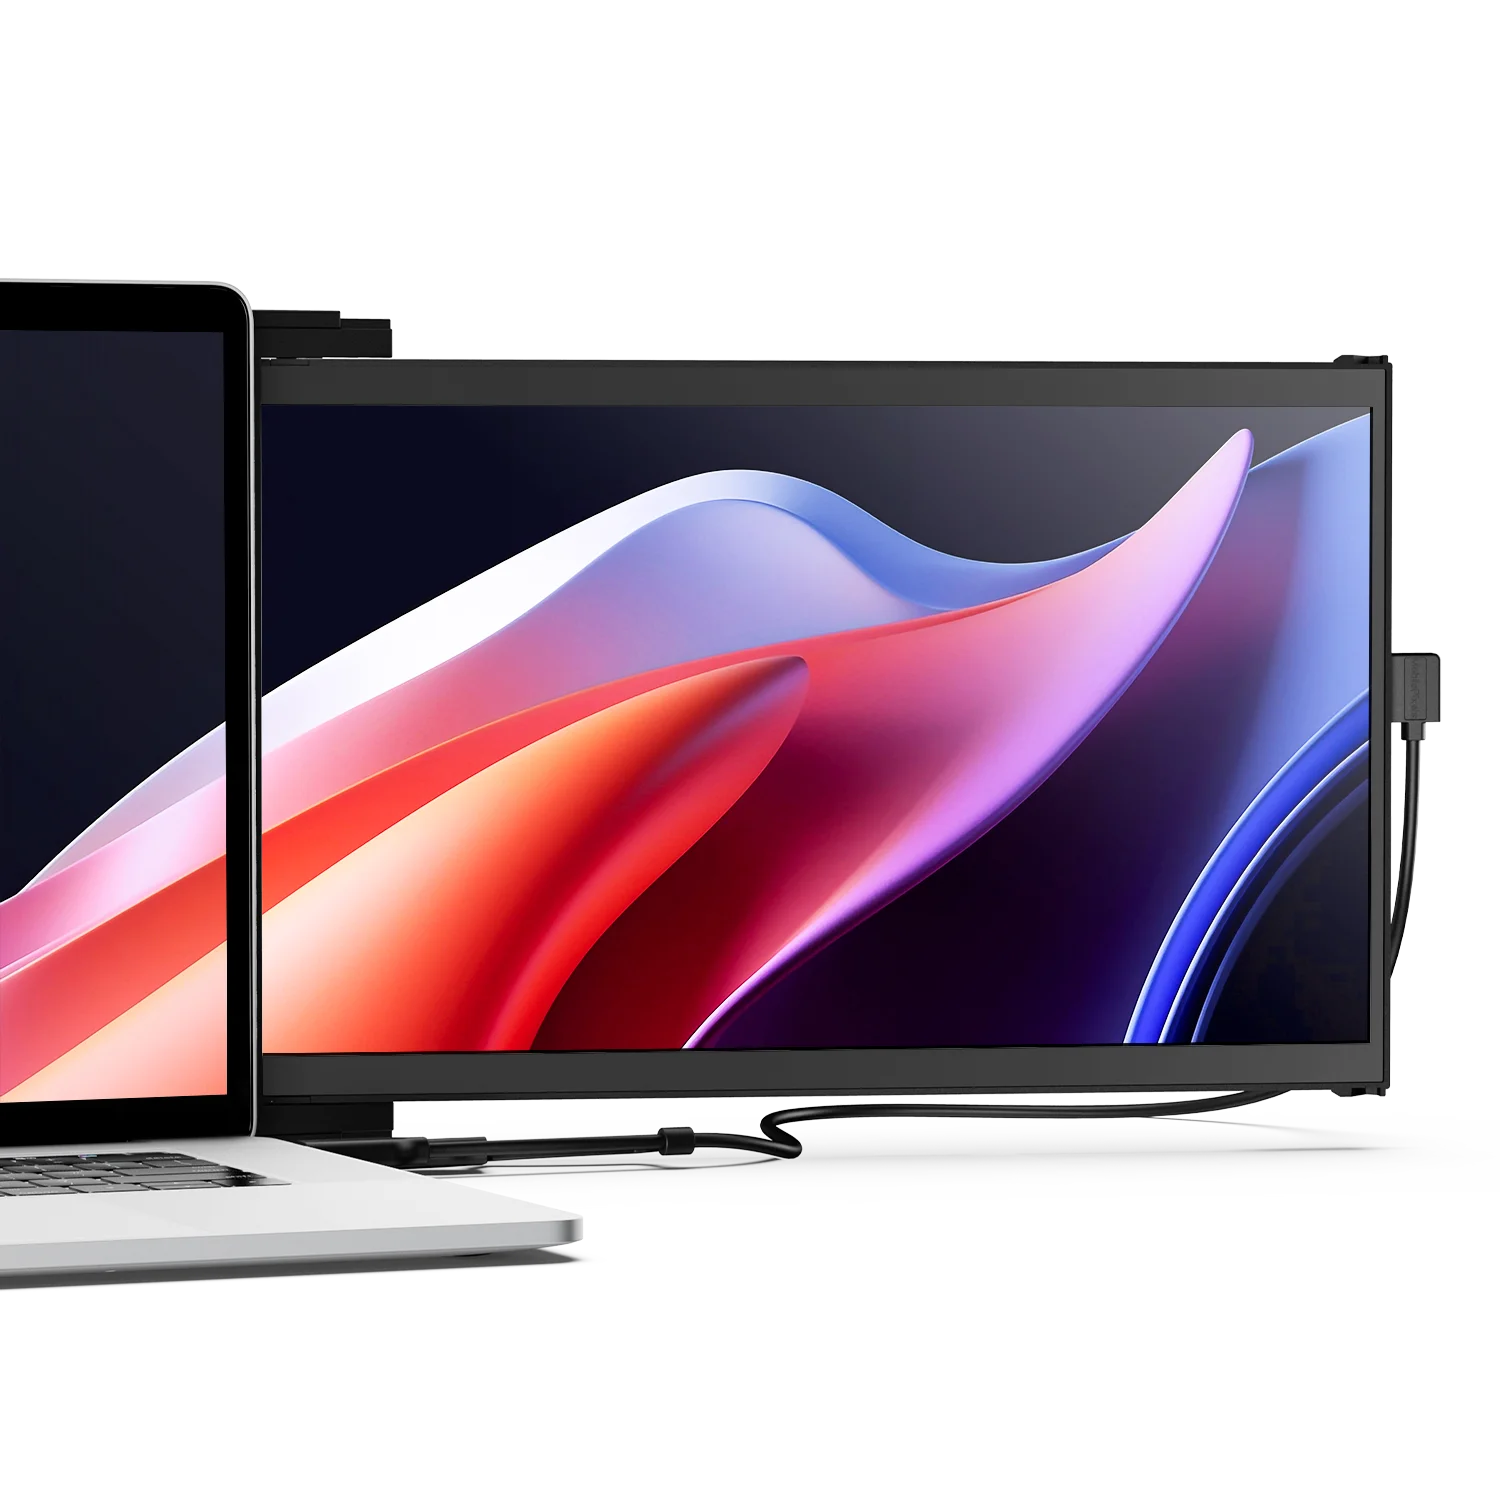
Yes, you can use your MacBook as a monitor! Whether through Apple’s native tools like AirPlay or third-party software and hardware, there are plenty of options to expand your screen real estate. However, the best choice depends on your specific needs, budget, and devices. For a more portable and flexible multi-monitor experience, consider exploring Mobile Pixels Monitors.
By understanding the tools and techniques available, you can unlock the full potential of your MacBook and take your productivity to the next level.
References
Discover Tech Gadgets


Leave a comment
All comments are moderated before being published.
This site is protected by hCaptcha and the hCaptcha Privacy Policy and Terms of Service apply.