


Working with multiple monitors can greatly help your productivity and creativity since more screens mean more real estate for multiple tasks. However, you are a Macbook user who likes to keep their screen aesthetics consistent. In that case, you will notice that your wallpaper appears on each screen individually — which can cause a lot of disturbance in the visual flow.
But thankfully, this issue can be easily solved in just a few simple steps. If you also suffer from this issue and want to know how to make MacBook wallpaper seamlessly across monitors, continue reading.
Why Use a Single Wallpaper Across Monitors?
Having a single wallpaper that goes continuously across your monitor can offer many benefits. For instance, it can greatly improve the aesthetic appeal of your workspace by offering a clean and professional look to your screen.
Moreover, a unified background can help you with personalization — allowing you to choose panoramic images or designs that reflect your style. Plus, reducing the visual clutter can also help you maintain focus, minimize distractions, and make it easier to concentrate on your work.
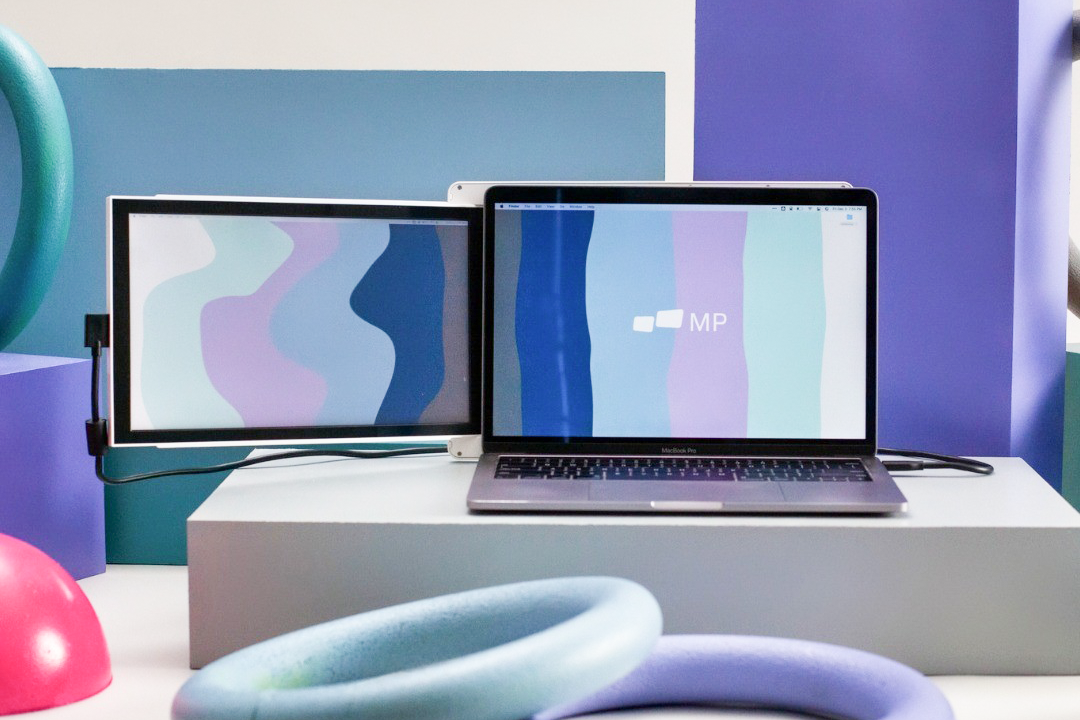
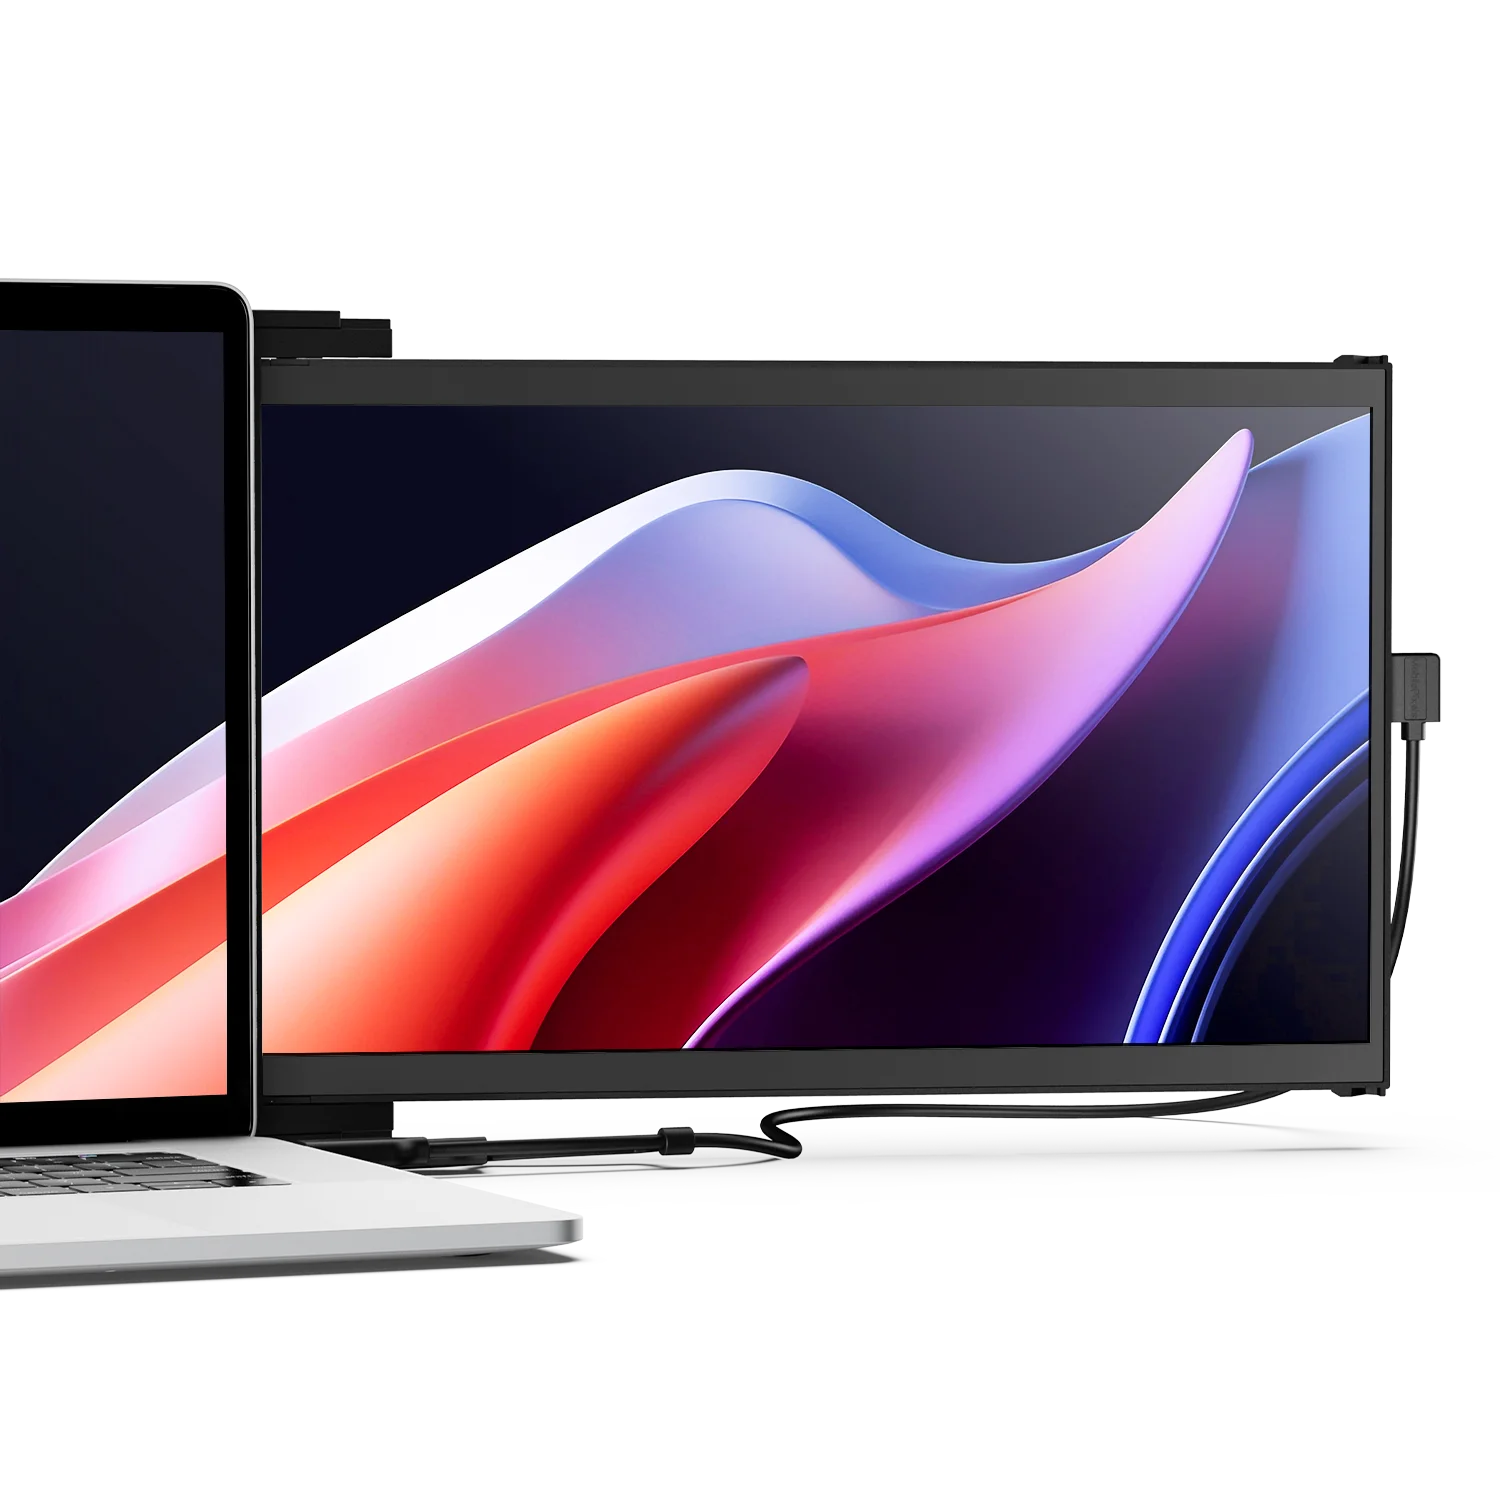
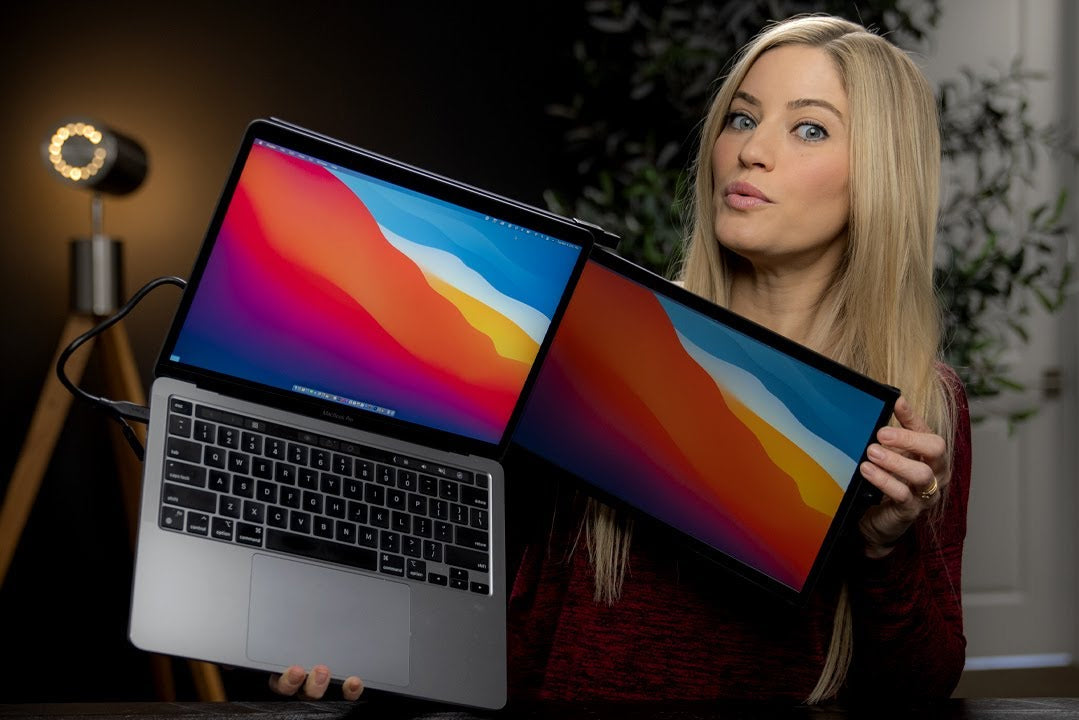
 Duex Max DS dual screen extender for laptop
How Do You Make MacBook Wallpaper Go Across Monitors?
macOS shows a separate wallpaper on every monitor. To create the illusion of one giant panorama you have to feed each display the correct slice of a single, ultra-wide image and then assign those slices to the right screens.
This guide works on macOS Ventura, Sonoma, Monterey, Big Sur, and newer.
Step 1. Measure the virtual desktop
- Arrange your monitors in > System Settings › Displays (or System Preferences › Displays on Monterey).
- Note each monitor’s resolution at the current scaling (shown under each thumbnail).
- Sketch the arrangement and write the numbers down.
┌──────────────┐┌───────────────────────┐
│ 2560 × 1600  ││     3840 × 2160      │
│ MacBook      ││     4K monitor       │
└──────────────┘└───────────────────────┘
The virtual desktop here is 6400 px wide (2560 + 3840) and 2160 px high (tallest screen). That is your canvas size.
Step 2. Create the panoramic image
- Use Photoshop, Affinity Photo, GIMP, Canva—anything that allows custom canvas sizes.
- Create a new document using the total dimensions (e.g.,
6400 × 2160). - Place your photo/artwork, scale/crop to fill.
- Export as PNG or JPG (max quality).
Step 3. Slice the image into one file per monitor
Still inside your editor:
- Enable rulers/guides.
- Drop vertical guides where monitors meet (e.g., at
2560 px). - Use Slice/Export Area to output:
- Slice 1:
0–2559 px → 2560 × 2160 - Slice 2:
2560–6399 px → 3840 × 2160
- Slice 1:
- Name files clearly (
Left-MBP.png,Right-4K.png).
Tip: Free utility Split Image or site cut-image.com can slice automatically.
Step 4. Assign each slice to its display
Ventura / Sonoma
- Open > System Settings › Wallpaper.
- A small Wallpaper window appears on every monitor.
- Drag the correct slice file onto the preview on that monitor.
- Select “Fill Screen”.
Monterey and earlier
- Open System Preferences › Desktop & Screen Saver.
- Select the target monitor in the sidebar.
- Choose the slice image.
Step 5. Disable “Displays have separate Spaces” (optional)
If enabled, macOS may shift wallpapers when you enter/exit full-screen apps.
- Go to > System Settings › Desktop & Dock › Mission Control.
- Turn off “Displays have separate Spaces”, then log out/in.
Conclusion
Now that you know how to get a seamless wallpaper across your multiple screens, you try to fit different wallpapers and experiment until you get that ideal screen that can help you increase your productivity and add a more personalized experience to your screen.
Discover Tech Gadgets


Leave a comment
All comments are moderated before being published.
This site is protected by hCaptcha and the hCaptcha Privacy Policy and Terms of Service apply.